Showing posts with label Lighting. Show all posts

Friday, July 8, 2011

Enjoying the Simple Things - A DIY Paint Stick Pendant Light

Meet:  Laura from
Enjoying the simple things

Laura has a lot of interests but not a lot of time. She's mom to 5 kids!  However she squeezes in a little time for DIY and flea markets.  Check out this awesome project!

What you'll need:

Lamp shade from the thrift store.


Paint stir sticks (purchase or ask at a local hardware store).


Go here for the HOW TO.

Beautiful result:

Rustic charm after little wood stain...


Gorgeous!  See more DIY from Laura at
Enjoying the simple things
Thanks for sharing your creativity, Laura! I love it!

Tuesday, May 24, 2011

DIY Light Fixture $30

Once upon a time, a DIY girl named Julia from fell in love with this light fixture...
but unfortunately, the price was $2140!  Julia was sad. Things like this happen. Drool.  Shock.  Pout.

Then the DIY bug bites.  Julia and Chris were determined to create the same look for their dining room light fixture. Their decorating dream became a DIY true story when they made their own version for $30! Hurray! ::clap::clap::clap::

  
Julia & Chris & the awesome new DIY light fixture live happily ever after. 
If I didn't tell you it was DIY, you'd swear they were the same, right?
See the full DIY story and tutorial at 
Chris Loves Julia
I love happy endings. :)

Tuesday, May 10, 2011

Classy Chandelier With An Umbrella

Did you like matters in the style art deco? Carried out by me. Light was suspended this was sent by Philippe Starck for Baccarat Collection. This beauty was acknowledged as Marie Coquine. Light was suspended united the umbrella and light some typical with classic crystal. This combination was real! Light was suspended was made from crystal, plastic and the umbrella. As light was not simple, then

Neomodern Style : Minimalis Crystal Chandelier

Thomas Feichter was the designer from Brazil that received education in Austria and Germany. Possibly because that he absorbed minimalis that was characteristic of Germany. His clear style and minimalis was reflected with very good in the interpretation that was unique about classic crystal light, one of Crystal Chandelier with LED light shone from beneath. You could choose the amount of

Monday, May 2, 2011

This DIY Lamp "Rules"

Blair at A Case of the Mundays has such cute ideas and this one is amongst the cutest!

She created a fun shade for her office using rulers.  COOL!
(love her table too - blue + distressed = dreamy!)
Isn't this such a cute accent for an office area? I love vintage and this is the perfect accent.


See the Craig's List wooden file cabinet? After a little sanding and blue/gray stain...
Here' is a sneak peek at a few more projects you'll find from Blair...


Thanks SO much, Blair for sharing your creativity! You're an inspiration!

Tuesday, April 26, 2011

DIY with Blue Velvet Chair

I'm a big fan of Roeshel and her work over here at The DIY Showoff - and I regularly crash her link parties - so I'm thrilled to be visiting as a guest blogger today and showcasing my latest before/after DIY project. My name is Mike, short for Michael, and I love to recycle, repurpose, and relove.

A few weeks ago I posted a Sneak Peek of several junk pieces treasures that I had picked up over the weekend - with plans swirling around in my head. I've since used the hubcaps to start my outside Happy Hubcap Wall Garden, the old planks of wood are waiting patiently to see what new life I have in store for them, and I finally finished a DIY refurbish for the funky little chandelier of my dreams.

We moved into our "1970s and I need a total renovation to bring me into this century" house nearly 3 years ago - and our first attempt at a dining room light was simply to use the small pink glass chandelier that came with the house. It just didn't fit the space, so that little cutie was moved to my daughter's room and you'll get peek at that in a future showoff of her redesigned little space. Then, I picked up a "I need a lot of work" 12-armed brass lamp fixture with "great potential" at the thrift store...which then hung in our dining room for the past 2 years...untouched and without lamp shades. When my hubby started to express his concern that our 12-armed lamp was not environmentally friendly (bless the Swedes for their green living), I officially started the hunt for the ideal lamp to hang over our family meals and fill the central hub of our home with light. That's when I stumbled across my funky little glass bauble diva online and was hoping-hoping-hoping that it hadn't been sold yet. Thank you Lady Luck!

So, here she is in all her before and after glory.  I call her Lulu (and I hope that I'm not the only one that names my projects).


Look at how a little paint and TLC helps her shine!


If you would like to see the full deconstruct-reconstruct for Lulu, hop on over to my place at Blue Velvet Chair for more images that document a new life for this little diva.

Hope to see you soon!
Michael
Blue Velvet Chair

Thursday, April 21, 2011

Bob Lamps Like Light Ufo by Pulsar

Bob lamp comes with light and soft forms enable even an earthy and worldly material such as ceramic to “fly”. It is made of enameled ceramics. Thanks of the material that gives the feeling of something beautiful and mysterious. The lamp contains of small bulbs that remind of the stars. It is available in many different colors that you can choose. The cool thing is that the lamp has a double

Wednesday, April 13, 2011

Four Corners Design - DIY Silverware Lamp

four corners design
I've seen some clever silverware DIY ideas (sunburst clocks, wall hooks, garden markers) and adorable teacup lamps but this is the first time I've seen this cute lamp created by Amy at Four Corners Design.

Thrift Store Lamp

Thrift Store Silverware and Lampshade Skeleton

Amy drilled holes in the ends of the silverware...

and gave the lamp and lampshade skeleton a coat of spray paint then went to work stringing the silverware using wire.

See her full detailed silverware lamp tutorial Part I and Part II.

This is the beautiful, creative result:

Isn't it cute?  

Amy - it's darling! I love unique DIY like this!  Thank you so much for sharing your creativity. I think this is about the cutest accent lamp I've ever seen.  :)

See more of Amy's awesome craftiness, DIY talent and some beautiful decorating inspiration at Four Corners Design.

Wednesday, January 19, 2011

PB Inspired Mason Jar Chandelier

Lauren from The McBride House has an awesome DIY project to show off.  Her DIY PB inspired mason jar chandelier is gorgeous!  

Source: Pottery Barn
The Pottery Barn version has 16 jars, measuring 35 inches wide by 32 inches high.  Lauren's  condo's small kitchen could not accommodate a chandelier that size  so they scaled it down to half the size of the PB version using only 8 jars.


Wired...


Her husband built the part that mounts to the ceiling.  A little Rustoleum Dark Bronze Hammered Spray Paint gave it the rustic metal finish it needed. She also sprayed one coat of the spray paint on the tops of the jars. This allowed some of the original silver to show through, adding to the look.


The price?  Under $100!  I bet it'd be cool to use it along with a dimmer too!  Head to PB Inspired Mason Jar Chandelier to see more details.  


Lauren and hubby - it's fabulous! I.LOVE.IT. I love when something out of reach due to budget becomes a rewarding DIY project with awesome results!  Great job!


The McBride House

Thursday, January 13, 2011

Deck Out My Home

Sommer from Deck Out My Home has been DIYing for years but is new to the blogging community.  I sure am glad that she's blogging to share her projects. Here are a few examples of her DIY:

Night stand before is sort of "blah".  You know you'd pass it by at Goodwill.

But, now it has a beautiful new look and lots of storage...

1970s turns rustic charm...

See her tutorial at Country Night Stands.

This faux beam intrigues me.  We have plans for something similar in our kitchen.

Living room to dining room is open...

Isn't this beam separating the two areas fabulous?  See her great DIY faux beam tutorial for more details.


Replace your fluorescent light with can lights.  Here is Sommer's kitchen lighting before:

Much better after:


There's lots more to see at Deck Out My Home - check out her popular posts including a laundry and dining room before and after + more and her DOH moments - you know we all have them!  :)  

It's nice to meet you, Sommer!  LOVE your before and afters and you do a fantastic job with helpful tips and tutorials!  


~*~*~*~
Black & Decker Giveaway - enter to win!

Happy birthday to my Bri!  I'm so proud of this beautiful young woman!

Wednesday, December 29, 2010

Wastepaper basket to Lamp - Easy DIY

We've had this wastepaper basket for a few years.  It's so pretty but no one sees it sitting in a guest bathroom corner plus the bottom had fallen out.  Time to replace it with something else and re-purpose the pretty can.
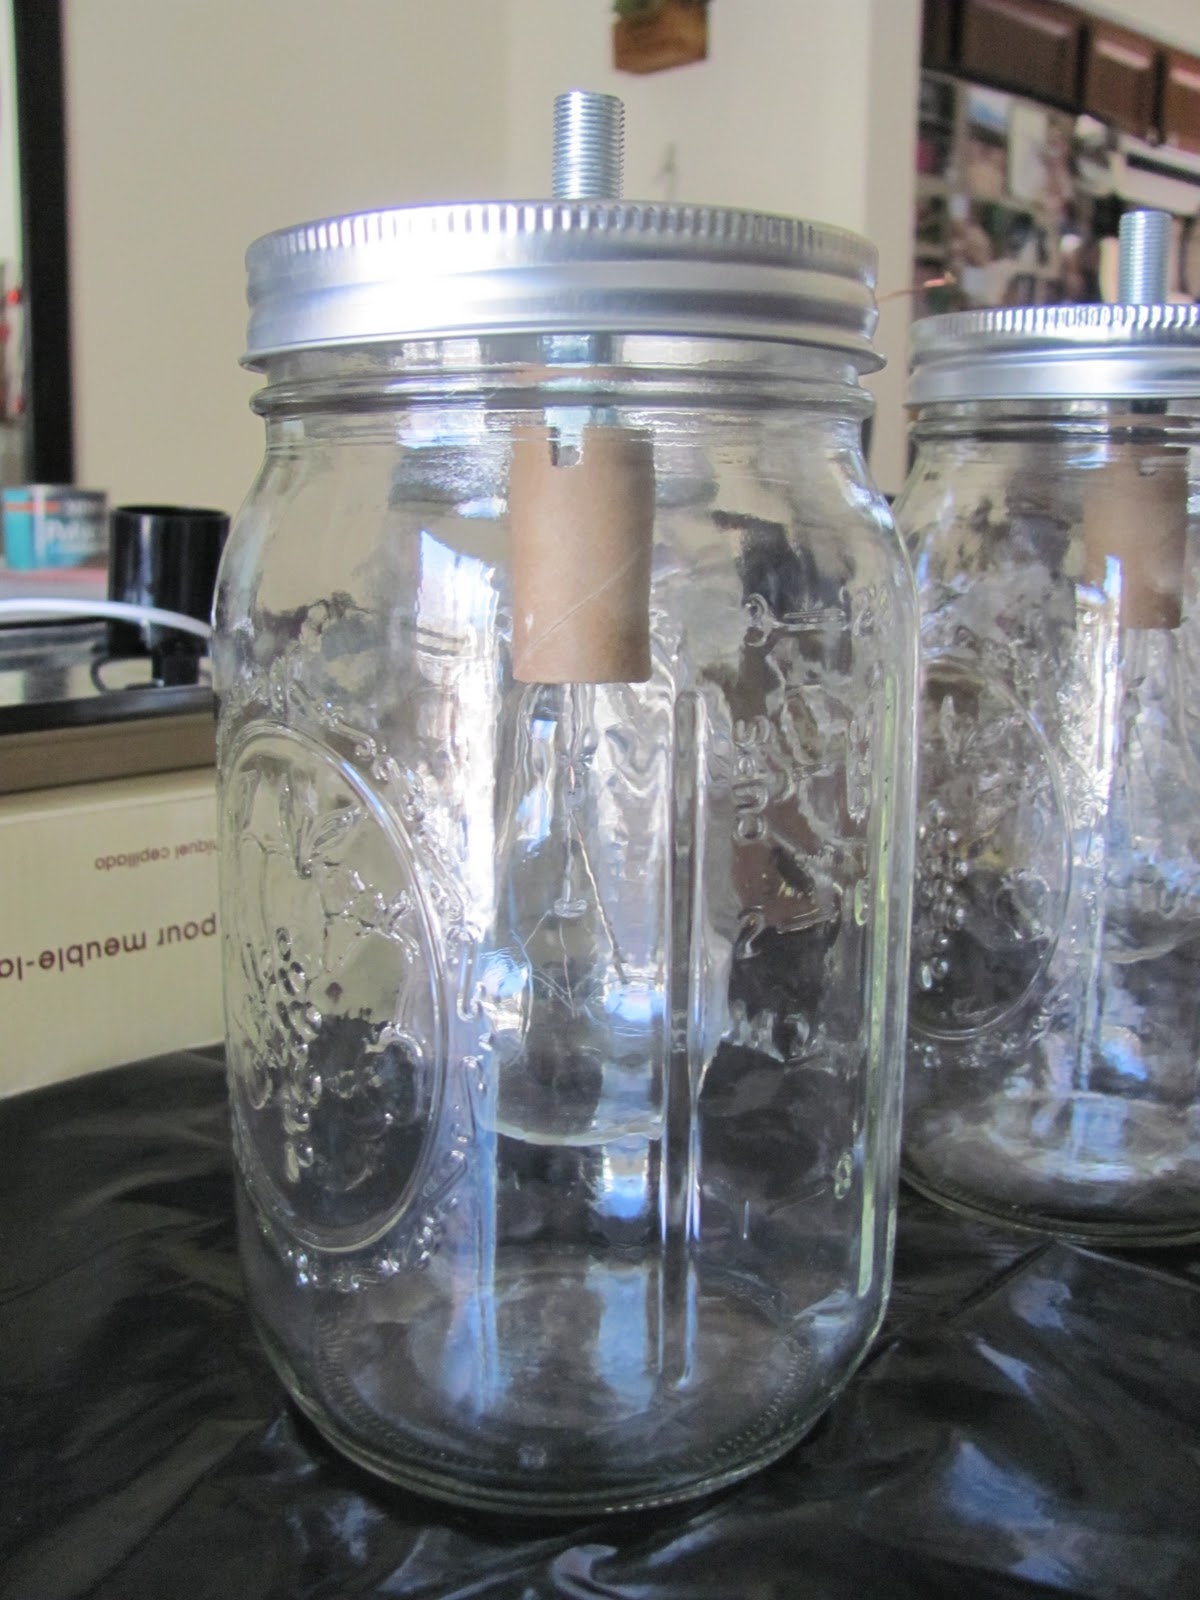
True Value sells lamp kits - this one was around $11.  Lamps can be made out of pretty much anything.  We used the wastepaper basket and a plastic charger that I already had (Michael's).


If you're repurposing, clean and disinfect wastepaper basket.  Also - because we used a charger, I have to reach in through the top of the shade to turn on the lamp.  I don't mind because it's what we had on hand and I love the result but you might want to use a smaller plate or if the design on your wastepaper basket allows, just turn it upside down and drill a hole in the bottom. 

Also - this is something you can do yourself.  Mr. DIY took over when I asked about the drill. I was all set to Do-It-Myself but I don't mind.  It's fun to work on things together too!  :)

1.  Mark the center of the charger and drill a hole big enough for a cord.


2.  Drill a hole into the back side of the wastepaper basket big enough for a cord.


3.  Following the instructions, we inserted the lamp nipple through the charger and secured with the adapter on the bottom and lock nut on the top.


4.  Put the check ring on top of the lock nut.


5.  Put the harp on top of the check ring.

6.  Unscrew the set screw a bit from the socket cap and screw the socket cap to the lamp nipple.


7.  Insert the wire end of the cord through the hole in the wastepaper basket.


8.  Pull through the lamp nipple in the charger.

9.  Insert wire end of cord through the socket cap and pull through so there's enough room to work with it.

10.  Attach to socket shell according to package instructions.  Ribbed wire attaches to silver screw.  The other wire attaches to the brass screw (terminal screws).


11.  Insert socket shell into socket cap and tighten set screw.


12.  Add harp top if you took it off during this process.

13.  Glue charger to top of wastepaper basket.

All done!  Add a bulb and shade.

I love how it turned out.  I love that we repurposed it into a lamp.  It's going in the guest bedroom (our next project after the kitchen).


What do you think?


Have you attempted to DIY a lamp?  A lot easier than it sounds, isn't it?


*~*~*~*~*~*~*~*~*~*~*~*~*~*~*~*~*~*~*~
I was one of the bloggers selected by True Value to work on the DIY Squad. I have been compensated for my time commitment to the program as well as my writing about my experience. I have also been compensated for the materials needed for my DIY project. However, my opinions are entirely my own and I have not been paid to publish positive comments.
~*~*~*~*~


I also wanted to say thanks to Mike and Katrina at
for featuring my bathroom!  Hurray!